
With the color of grey applied in many thin coats, I let it dry a day and tried to start sanding. I burned through a couple sheets of 220 grit wet paper, then went away for a week on vacation. Coming back and starting to sand again, it was WAY more cured and didn't clog up the sandpaper anymore. Note to future self: let filler primer cure for a week before starting to sand it.


After sanding to 600 grit, I decided the flexibility of the plastic seat would probably allow a reasonable release without sanding to a more typical 1500-2000 grit. So I cleaned up with isopropyl alcohol to remove any debris and to dry out the water. After waxing the mold three times (well, at least two in every place), letting it dry 30 minutes between coats, and dry for five hours, I gave the mold a coat of PVA mold release before going to bed last night.

Last night I also cut a bunch of material. The final layup will be epoxy gel-coat (cabosil thickened and white-pigment dyed epoxy), 1.4oz fiberglass, two layers 8.7oz 8-HS satin (style 7781), 2mm Lantor Soric XF, two layers 8.7oz fiberglass. The edges will get three additional layers of 8.7oz to transition between the cored and uncored regions.

The Soric XF patterns were used to cut perforated release film (perf). I don't see need to use peel-ply on this part since I shouldn't need to bond to the backside.

Commitment started this morning at 0930 with the first gel-coat layer. As soon as I started, the realization struck that I really should have put down a layer of white paint first. I'm starting this like a mold, not a flight part, and a flight part really is benefited by a coat of paint to make a consistent color without excess epoxy weight. With the method I've started now, I'm not sure if the 1.4oz surface layer with pigment will really make a consistent color. Oh well, I can repaint it afterwards if the color is ugly. For now, I'm waiting a couple hours for the gel-coat to tack up where it doesn't hold a fingerprint.

After 8 hours straight of layup and who knows how much epoxy, here's the perf going on (when I had clean hands)... I'm sure the first gel-coat layers were fully cured before this point. It would have been helpful to have stickier epoxy when putting the Soric on to keep it held in place. It stays when there is a lot of epoxy in it, but that's defeating the point of saving weight.
Another hard part was using a small acid brush for the gel-coat layers instead of the 1" horsehair brush. The 1.4oz glass is frustrating when trying to keep from getting stuck in the gel-coat layer, even with a first layer of raw epoxy to wet out the surface, and the small acid brush is too tiny for a massive project like this. When switching to the first layer of the 8.7oz 7781 and wetting out with a 1" horsehair brush, it was IMMEDIATELY better. I probably could have skipped the 1.4oz layer in all honest with the high thread-count 7781, and it went down very nicely and at a much faster pace.

I decided to put the whole chair in a bag instead of sticking down to the old chair given its several holes had been patched. A simple twist of the mold and the chair popped off the Bondo supports. A rather large 3m x 1.5m length of stretchlon and yellow bagging tape made a workable bag. The whole chair was stuffed in, bag sealed, and the vacuum started pulling the bag down nicely. After a few minutes and pushing/massaging the bag into the corners, the perf was starting to show epoxy coming through to the breather like it should be.
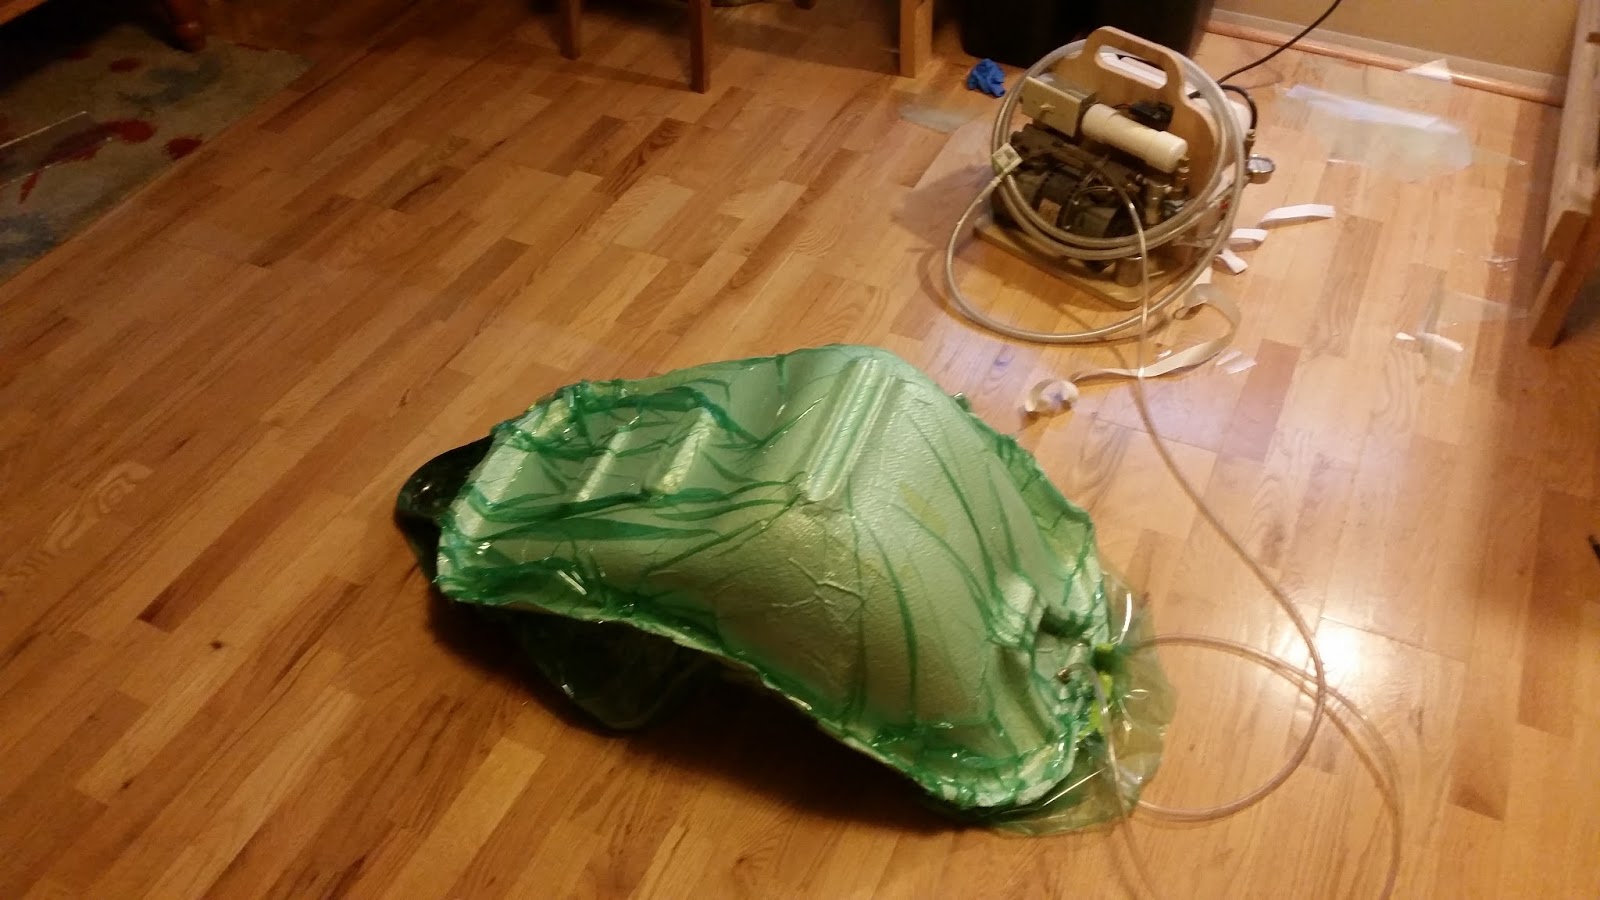

I'll let this sit under vacuum at least through tomorrow morning and leave it on the mold until Thursday evening. Definitely don't want to rush this part. It needs to shrink while held onto the mold, rather than in free space.
That's all for today.

No comments:
Post a Comment